Integrate Bitbucket Pipeline in your Android Project

Continuous Integration or Continuous Delivery in Software Development is a process of building, testing, and deploying the code through a pipeline also known as CI/CD. This mainly aims to automate the process and reduce human effort.
These are some tools from which we can Implement CI/CD
In this article, we will see how we can achieve this using the Bitbucket Pipeline.
Bitbucket pipeline is an Integrated service built on Bitbucket Cloud where we can automatically test, build, and deploy the code based on the configuration file.
Prerequisites
- You need to create a Bitbucket cloud account
- You should have one repository in that account.
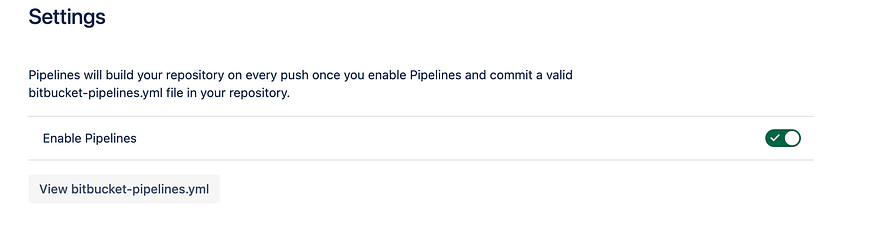
Step 1: Enable Pipeline
The first step is to enable Pipeline in your Bitbucket repository settings.
- Go To Bitbucket Project
- Repository Setting
- Pipeline Section — > Settings
- Enable Pipeline ✅
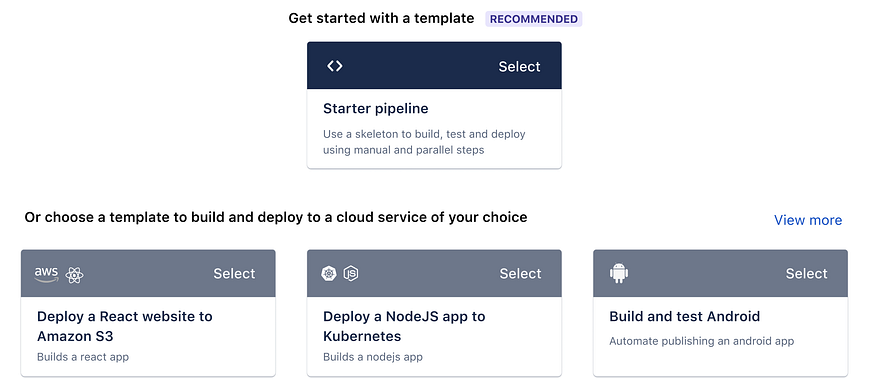
Step 2: Create Pipeline
Step 2 is to create a pipeline to generate a YAML file and added to your Android Project.
- Go to your repository and select Pipelines.
- Click Create your first pipeline and Select the template that is Recommended or you can choose another as well.
- After selecting the template you will see the Editor of the YAML file with the name
bitbucket-pipeline.yml - Commit and run
Step 3: Basic Configuration
After making a file, let’s add some basic configuration to build an Android application. For instance, when we upload code to a particular branch, we want it to create a debug build.
Now let’s jump into the file to see how the file looks in practice:
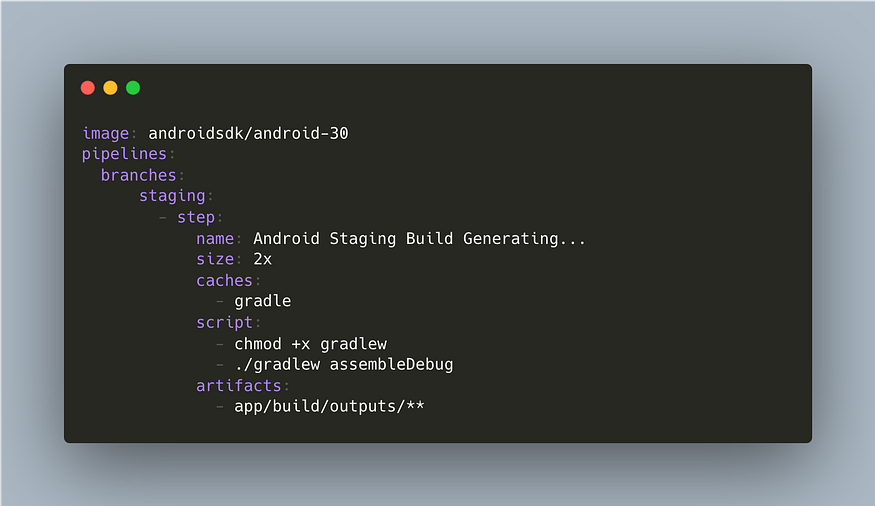
The configuration has a pipeline definition for all branches, with one step: running the command ‘./gradlew assembleDebug’. Once you push code to the staging branch, you can check the Pipeline status, view detailed logs, and access other useful data.
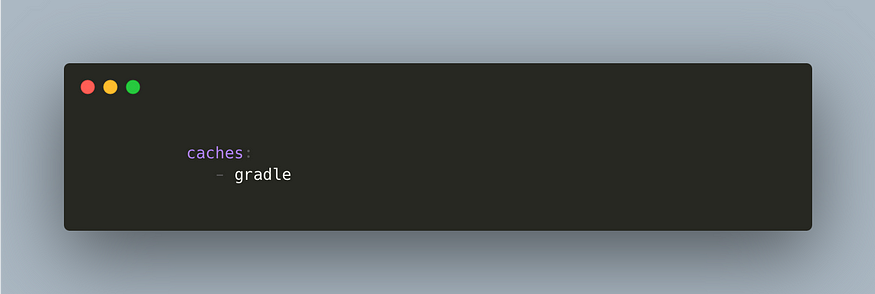
Here we also added a cache to make Android builds faster It enables caches on external libraries and directories such as Gradle libraries, to enable the cache just added this command.
Step4: Build and Test
The ultimate step is to build and test the pipeline. Once it’s finished, you can grab the built .apk file in the artifacts directory.
- Go to artifacts
- app/builds/outputs/debug.apk
- Download the file
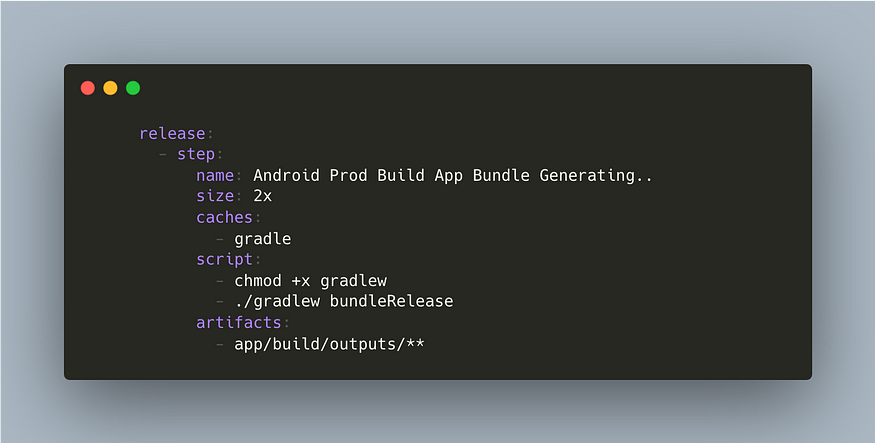
If you want a bundle release build then just add this command in the bitbucket-pipeline.yml file.
Conclusion
This article guides you through implementing Continuous Integration and Continuous Delivery (CI/CD) using Bitbucket Pipeline. The process involves enabling and creating a pipeline, configuring it with a YAML file, and executing a debug build when code is pushed to a specific branch. the article highlights the availability of the built .apk file for download in the artifacts directory, making the CI/CD process straightforward and effective.
If you want to explore more about Bitbucket Pipeline, then check out these sources:
I hope this article was helpful. If you think something is missing, have questions, or would like to offer any thoughts or suggestions, go ahead and leave a comment below.
I’ve written some other Android-related content, and if you liked what you read here, you’ll probably also enjoy my Medium page.
Sharing (knowledge) is caring 😊 Thanks for reading this article. Be sure to clap or recommend this article if you found it helpful. It means a lot to me.
If you need any help, join me on Twitter, LinkedIn, GitHub, and subscribe to my YouTube Channel.